Wordpress
WordPress
Install and run sample health checks on two MySQL nodes
To install and run a custom health check on both MySQL nodes, perform the following steps:
- Copy source code from GitHub repository:
$ git clone https://github.com/AWS-First-Cloud-Journey/health-check-agent.git
$ cd health-check-agent
-
Edit the .env file to specify your MySQL connection information Edit the .env file to provide connection information to your MySQL database.
-
Create a Python virtual environment and activate it
$ python3 -m venv .venv
$ source .venv/bin/activate
- Install necessary packages
$ pip install -r requirements.txt
- Set up Flask environment variables
$ export FLASK_APP=app.py
- Run the Flask application
$ flask run -h 0.0.0.0 &
- Deactivate the virtual environment (optional)
$deactivate
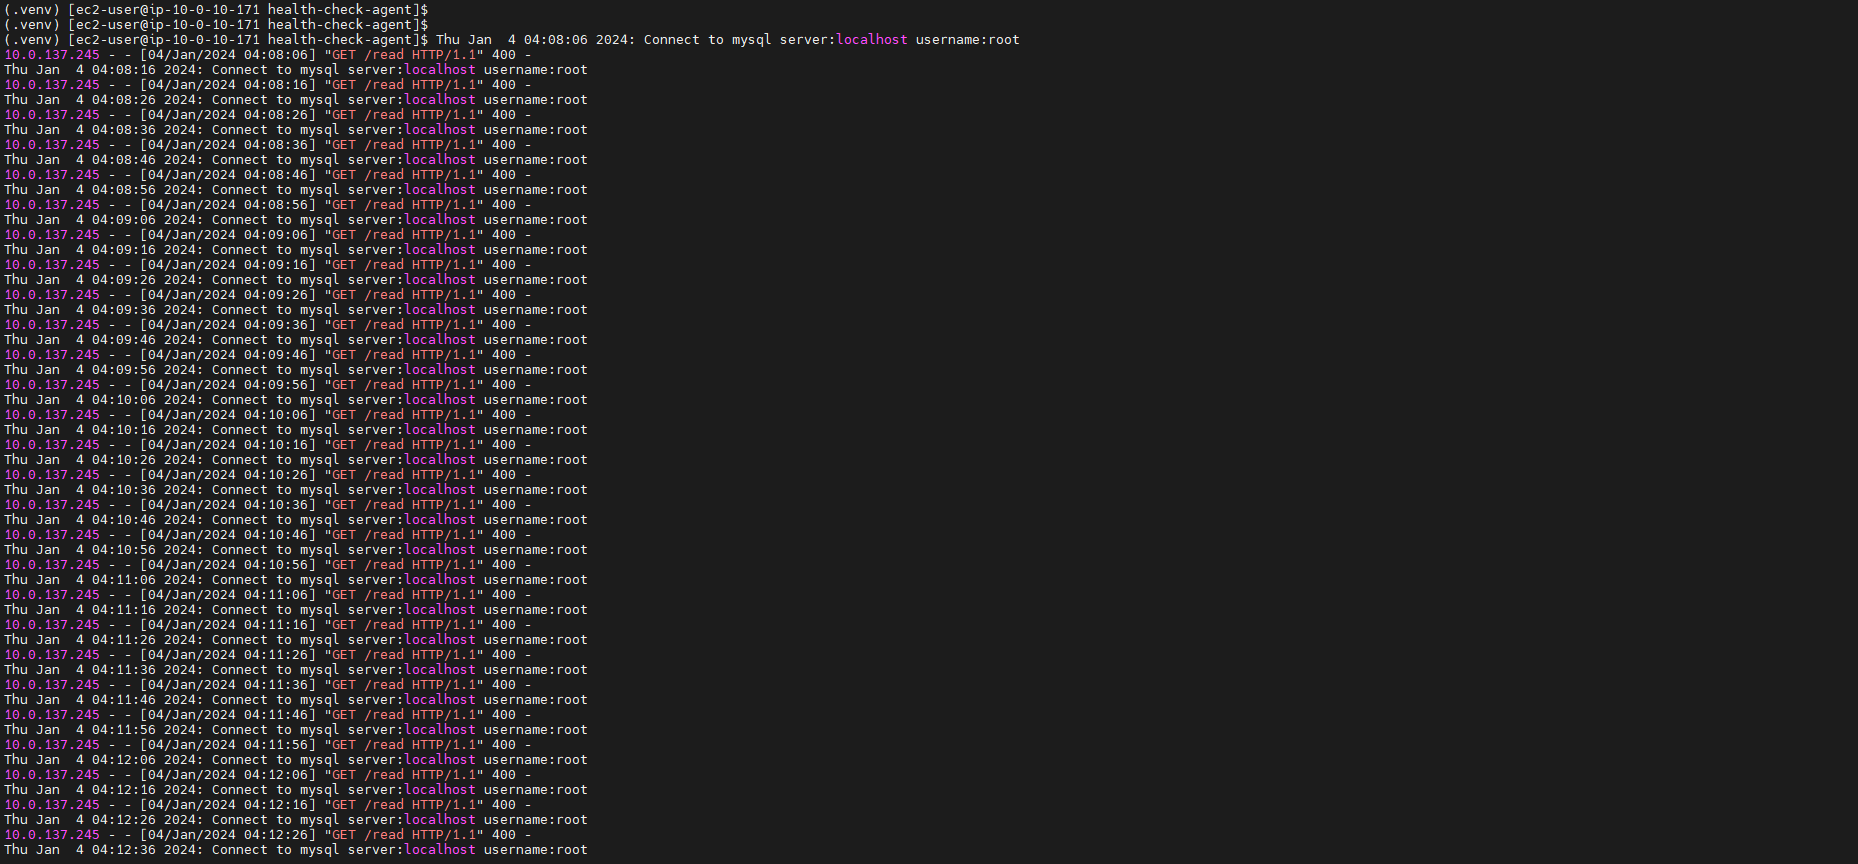
- Illustration of checking MySQL server at node-01

- Illustration of testing MySQL server at node-02
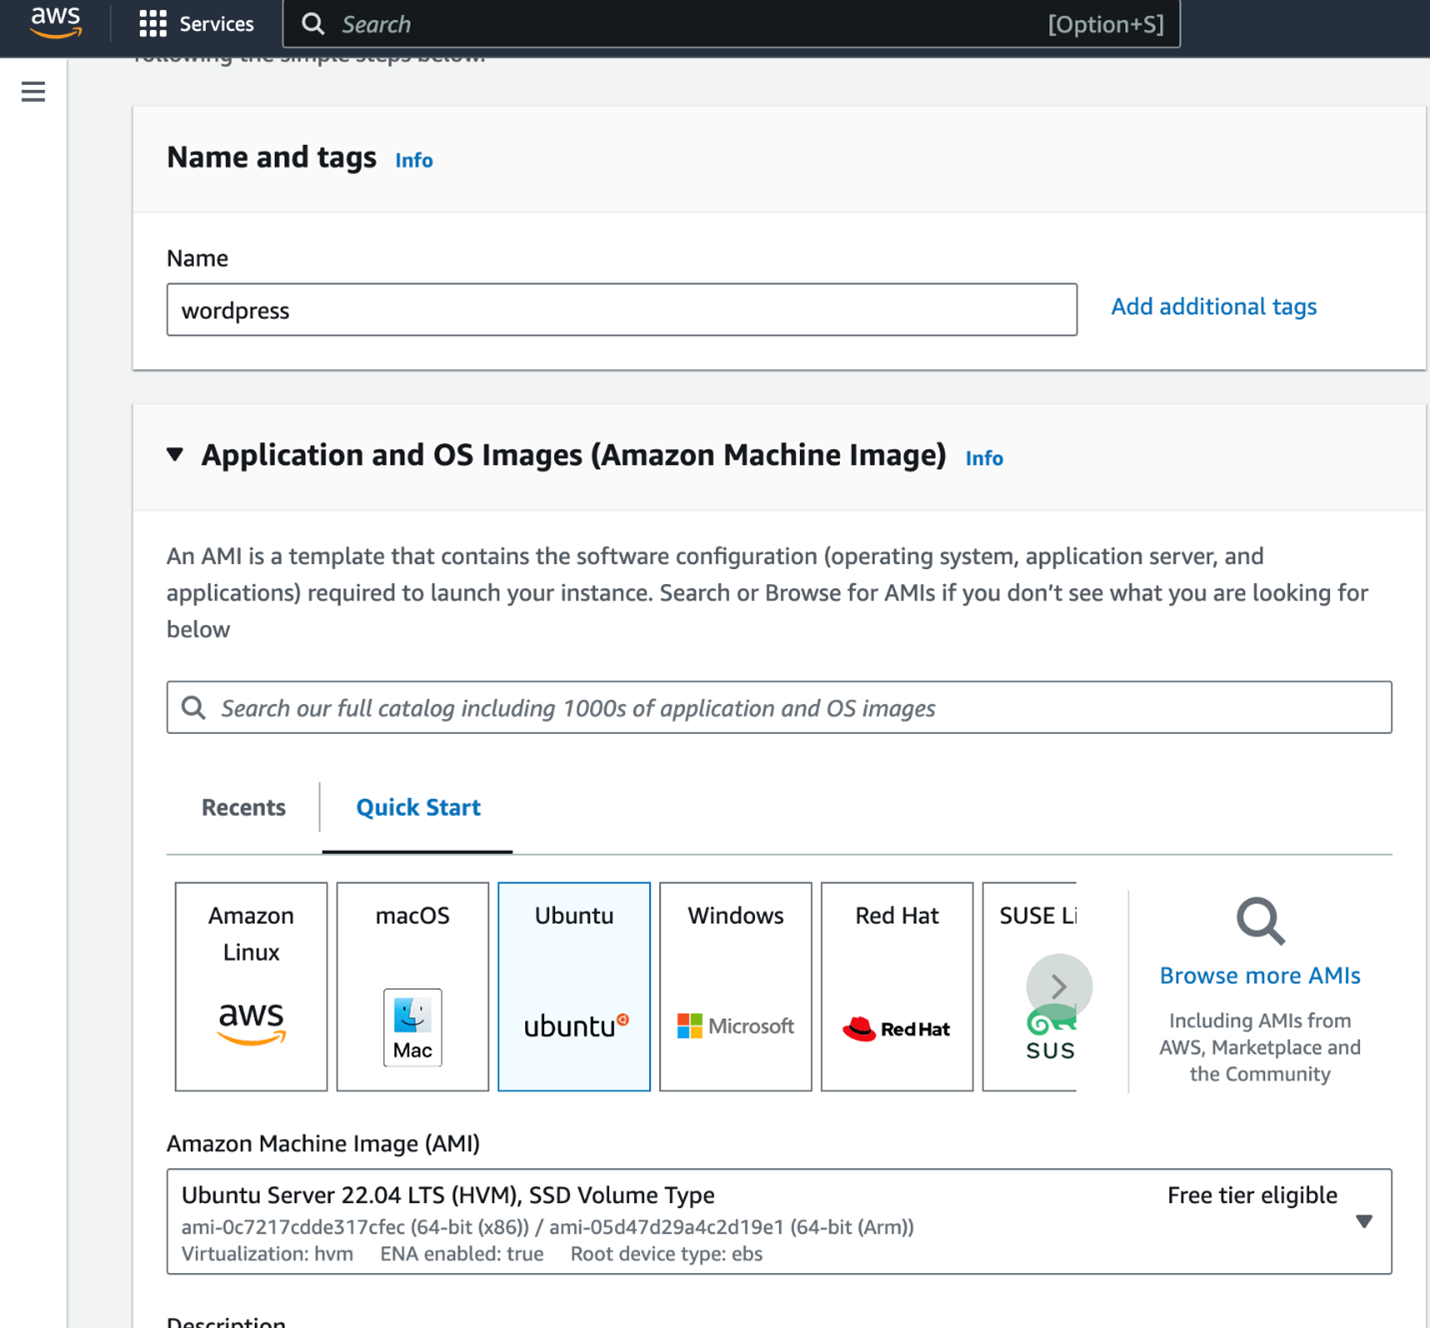
Create an Ubuntu server on Amazon EC2
-
Log in to AWS Management Console and open the Amazon EC2 console at https://console.aws.amazon.com/ec2/.
-
Verify that the appropriate Region is selected.
-
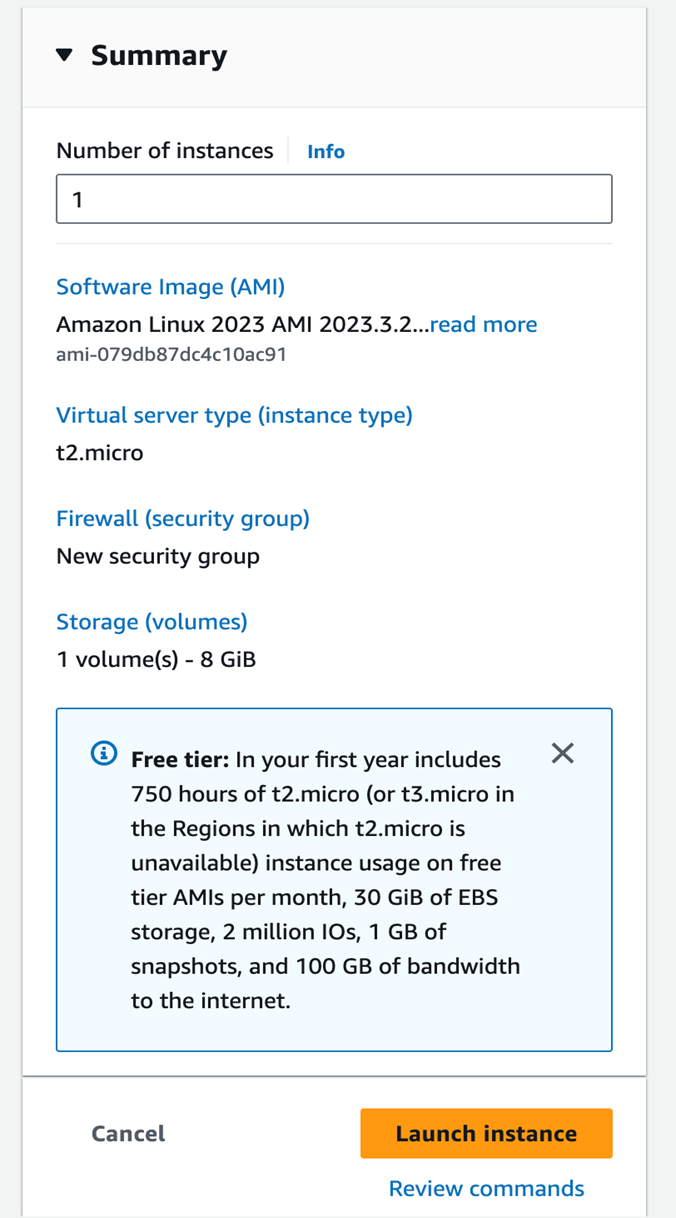
Select Launch Instance (Initialize virtual machine).
-
Fill in the following information:
- Name – Enter a name for your server.
- Application and OS Images (Amazon Machine Image) – Select Ubuntu.
- Instance type – Select t2.large.
- Key pair login – Create your key pair.
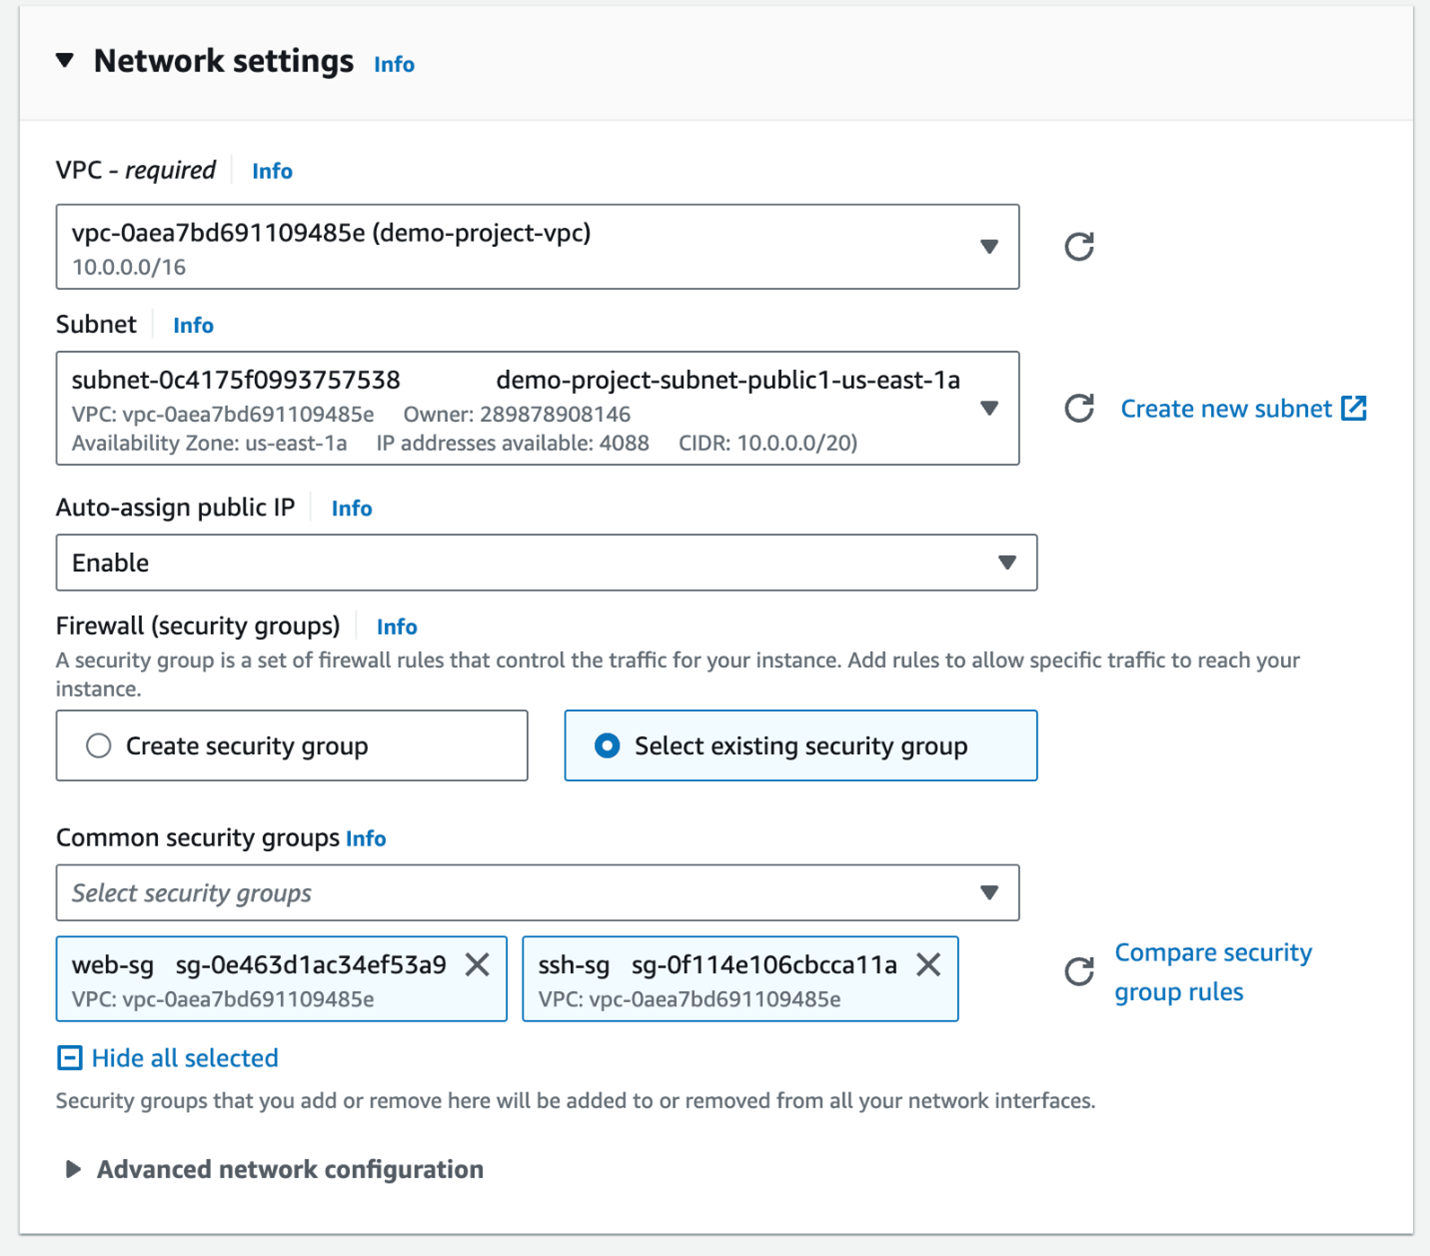
- Network settings – Keep the default.
- Configure storage – Increase hard drive capacity to 256 GiB.
- Advanced settings – Keep the defaults.
- Networking configuration
- Initialize the server and SSH into it.
-
Perform the following steps:
- Select Instances (Virtual Machine) in the left navigation bar, then select the virtual machine ID.
- Select Connect in the top right corner.
- Select SSH client and follow the on-screen instructions.
- Open a terminal and navigate to the downloaded .pem file (probably located in ~/Downloads).
The first time you perform these procedures, you will receive the message The authenticity of host (…) can’t be established.. Enter yes to continue.
Instructions for installing WordPress on Ubuntu
- Before starting, we need to update the system and upgrade software packages. Log in as root to your system and perform the following steps to update the repositories.
sudo apt update && sudo apt upgrade

- Next, we will install the LAMP stack to get WordPress working. LAMP stands for Linux Apache MySQL and PHP. Install Apache
Let’s start by installing Apache. To do this, execute the following command:
sudo apt install apache2

To confirm that Apache has been installed successfully, execute the following command:
sudo systemctl status apache2

To check further, open a browser and visit your server’s IP address:
https://ip-address

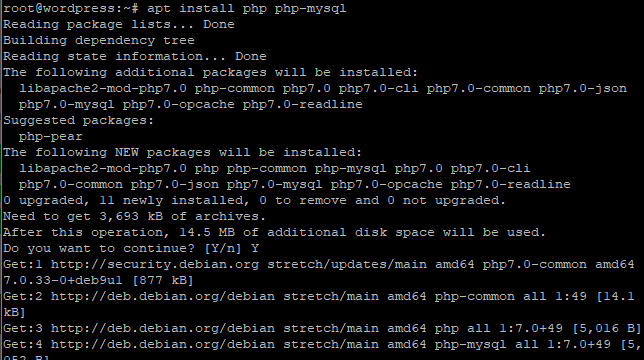
- Install PHP. Finally, we will install PHP as the final component of the LAMP stack.
sudo apt install php php-mysql
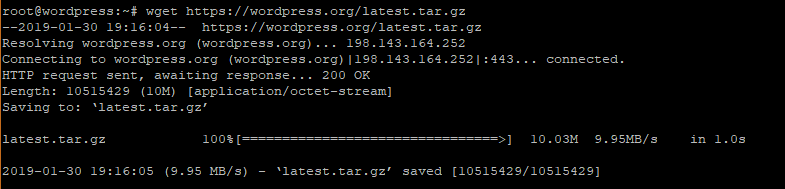
- Install WordPress CMS. Go to your temporary folder and download the latest WordPress files.
cd /tmp && wget https://wordpress.org/latest.tar.gz
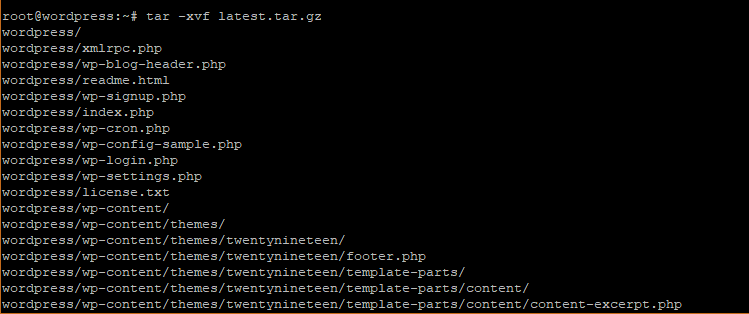
- Next, extract the tarball file to create a folder named wordpress.
tar -xvf latest.tar.gz
- Copy the “wordpress” folder to the path /var/www/html/.
sudo cp -R wordpress /var/www/html/
- Run the command below to change the ownership of the ‘wordpress’ folder.
sudo chown -R www-data:www-data /var/www/html/wordpress/
- Change permissions for the WordPress directory.
sudo chmod -R 755 /var/www/html/wordpress/
- Create ‘uploads’ folder.
sudo mkdir /var/www/html/wordpress/wp-content/uploads
- Finally, change the permissions for the ‘uploads’ folder.
sudo chown -R www-data:www-data /var/www/html/wordpress/wp-content/uploads/
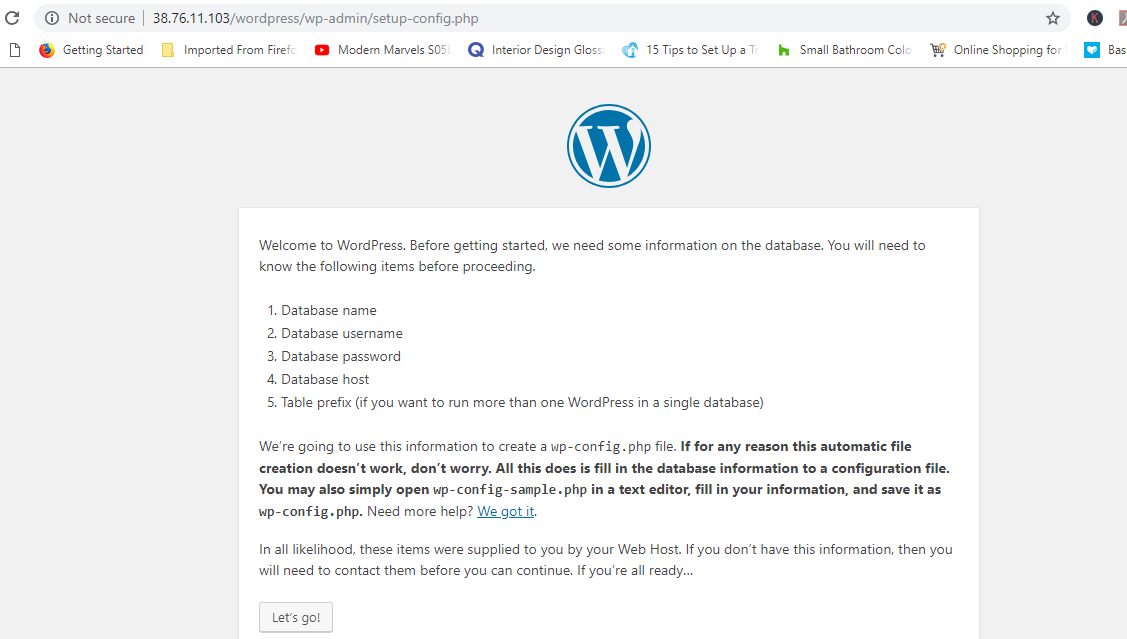
- Open a browser and access the server URL. In my case it was:
https://server-address/wordpress
You will see a WordPress installation guide and a list of credentials needed to set it up.
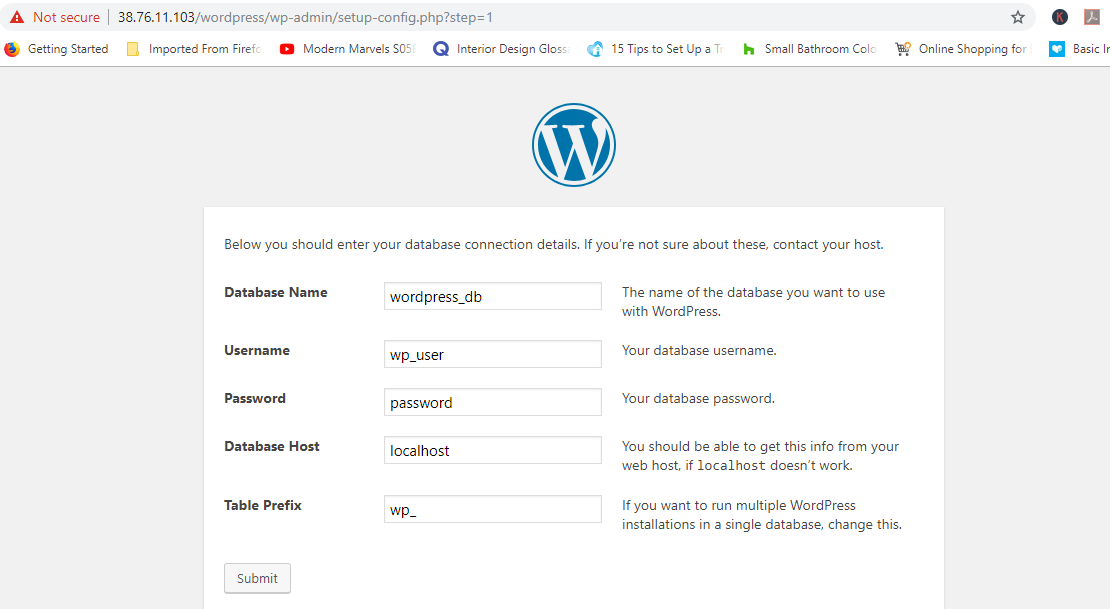
Fill out the form as shown below with the information specified when creating the WordPress database in MariaDB database. Do fill in the information about the database server and table prefix, then press the ‘Submit’ button.
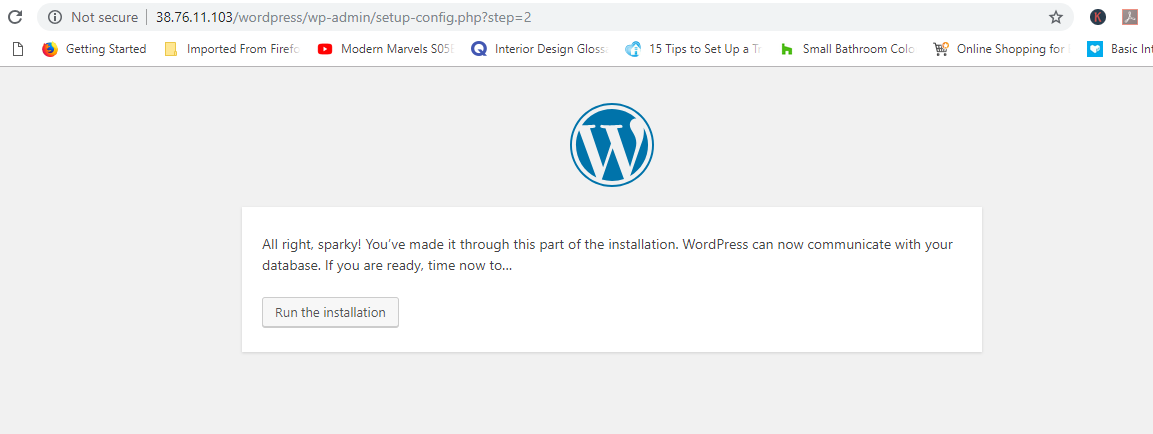
If all the details are correct, you will be provided with a ‘Success’ message. Proceed to run the installation process.
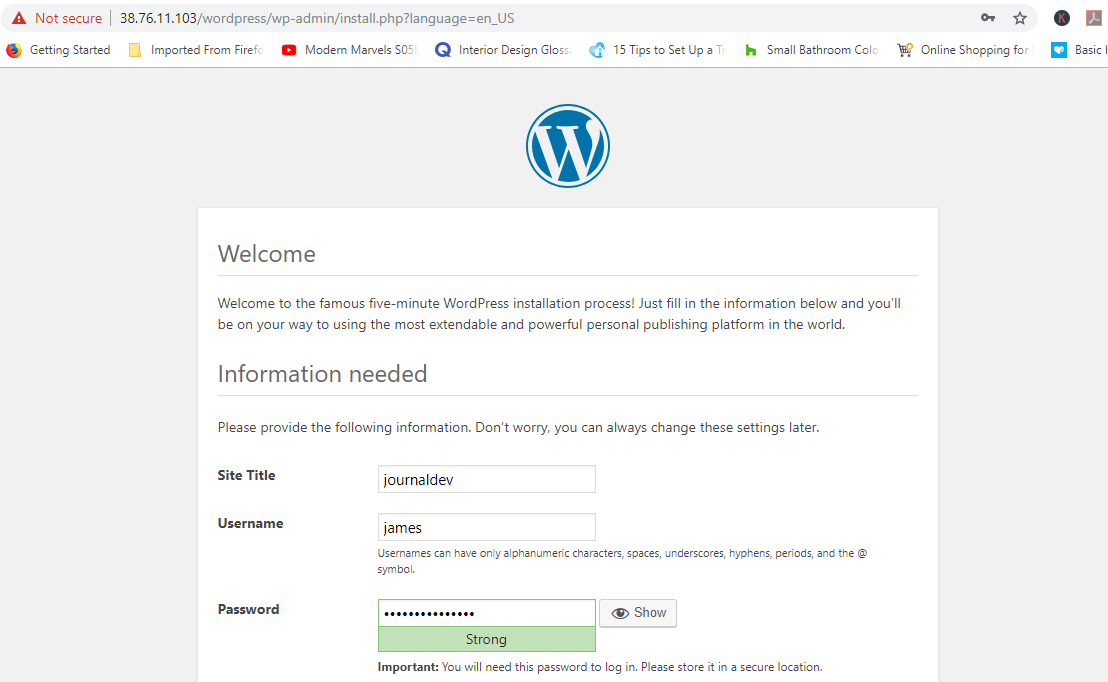
Fill in the necessary additional information such as page title, Username and Password and save it somewhere safe if you forget. Be sure to use strong passwords.
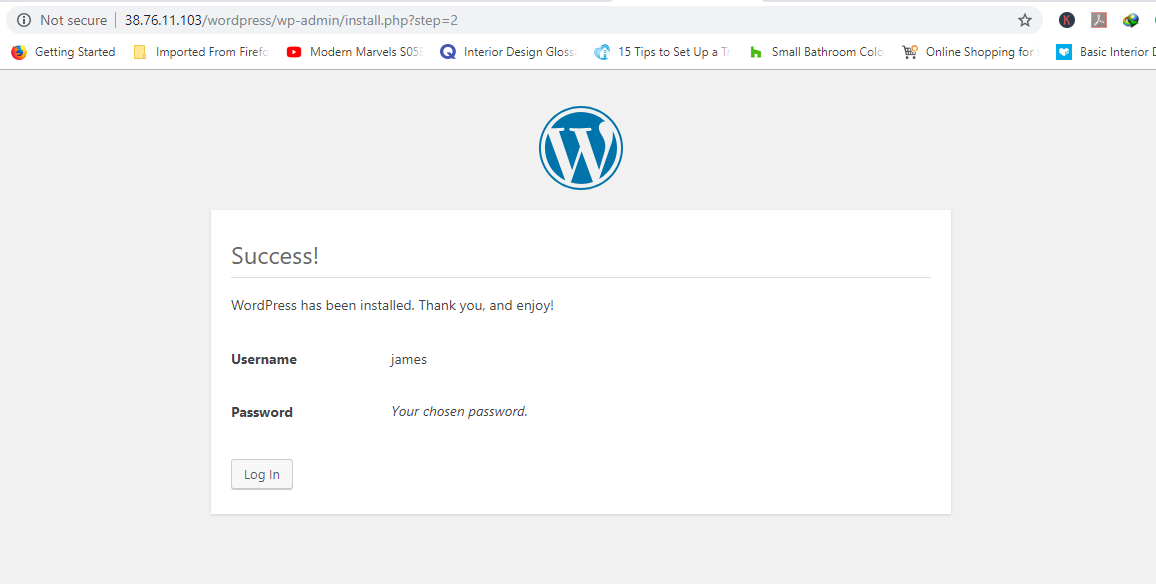
Scroll down and press the ‘Install WordPress’ button. If everything goes smoothly, you will receive a ‘Success’ message as shown below.
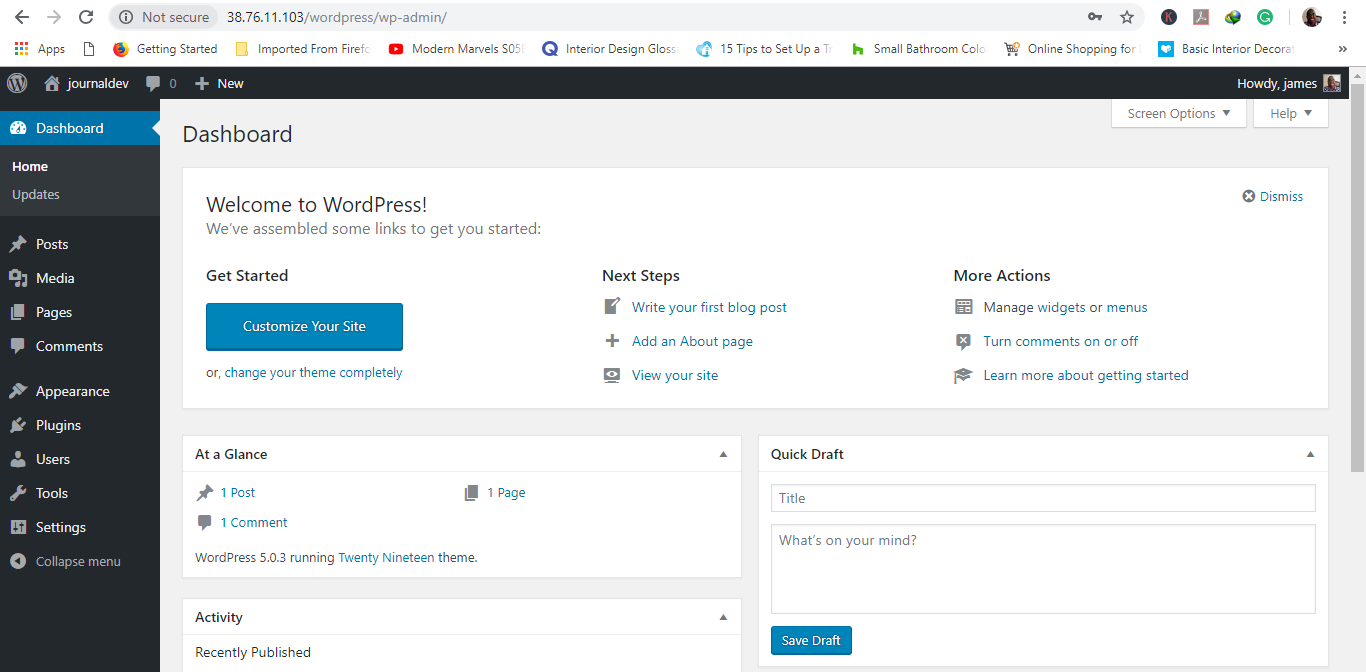
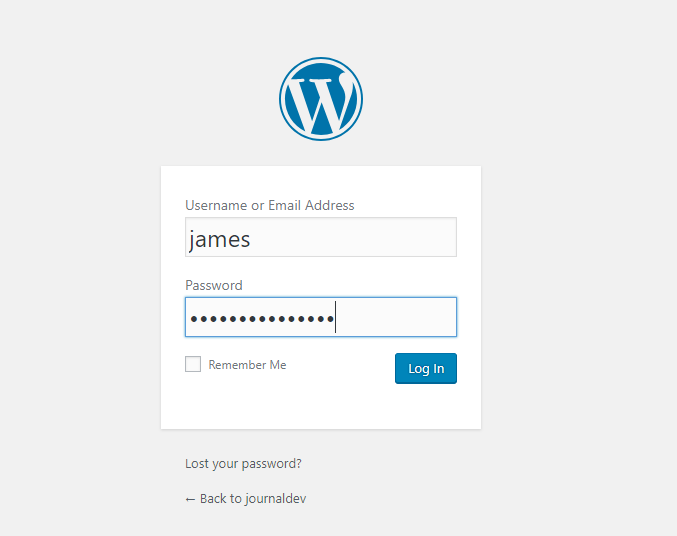
Click the ‘Login’ button to access the login page of your new WordPress installation.
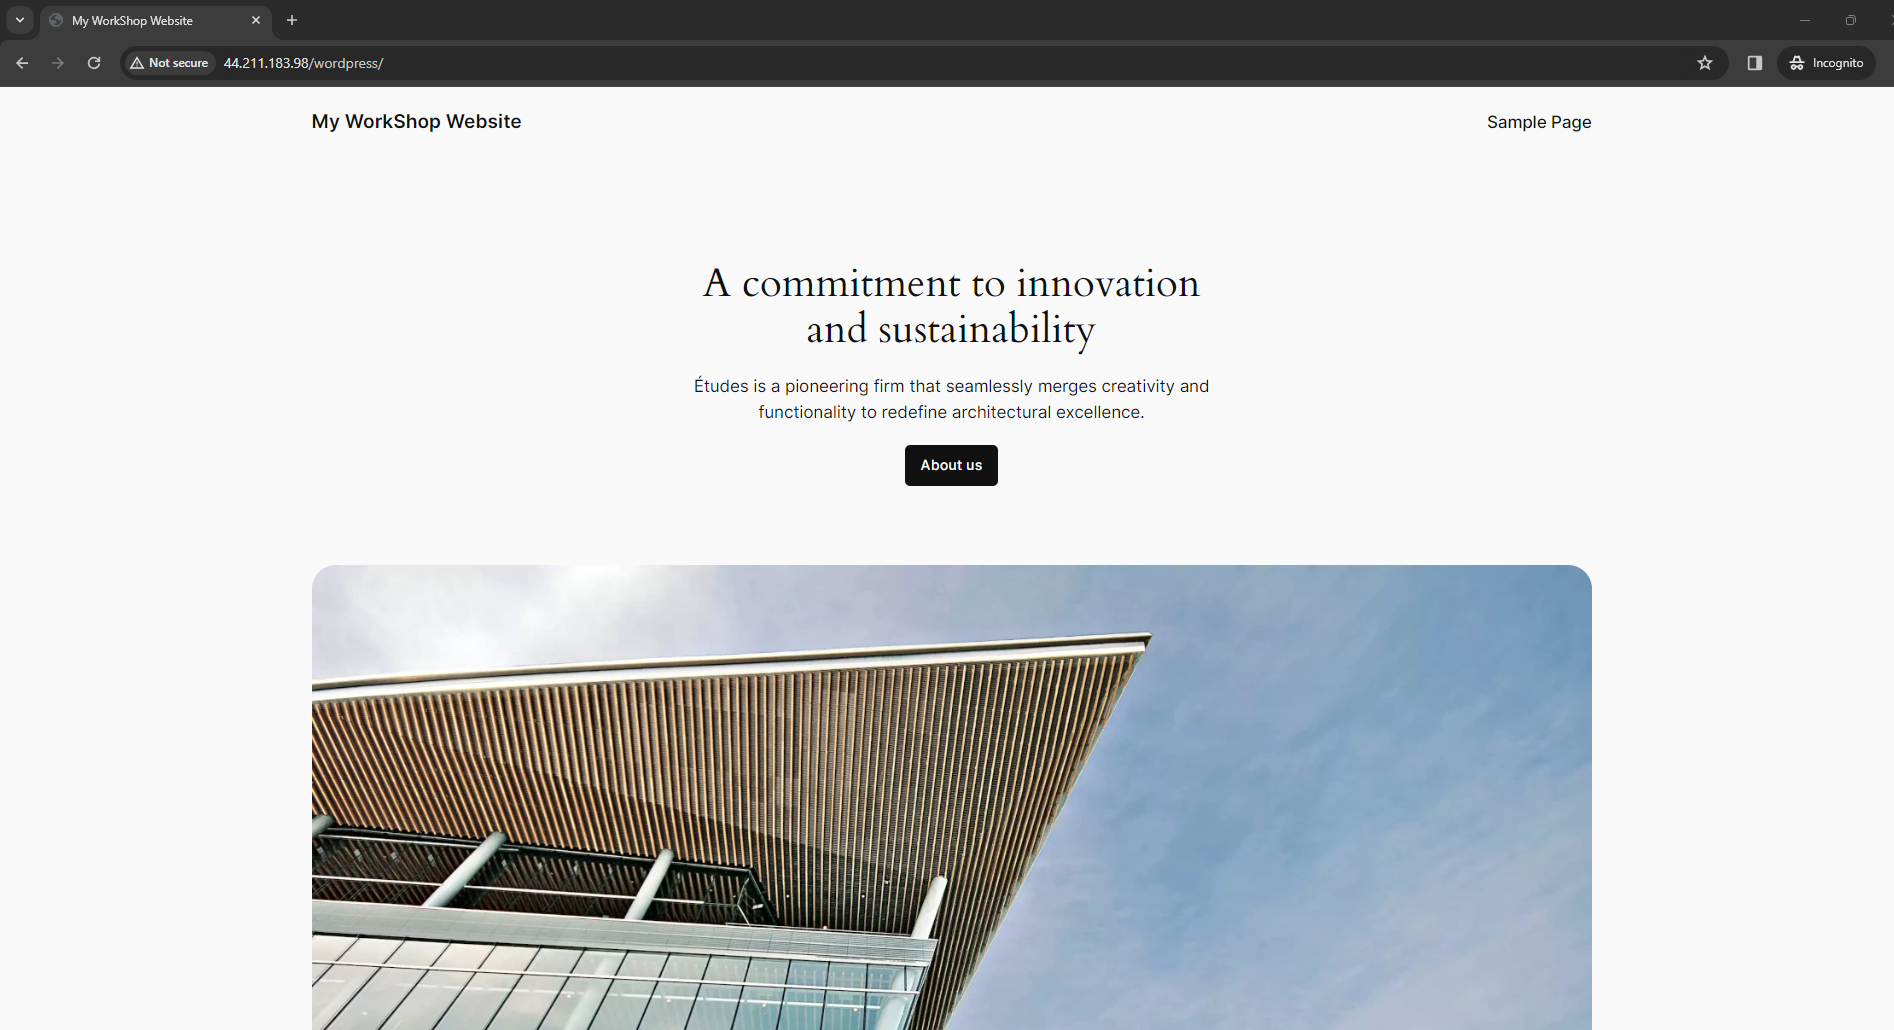
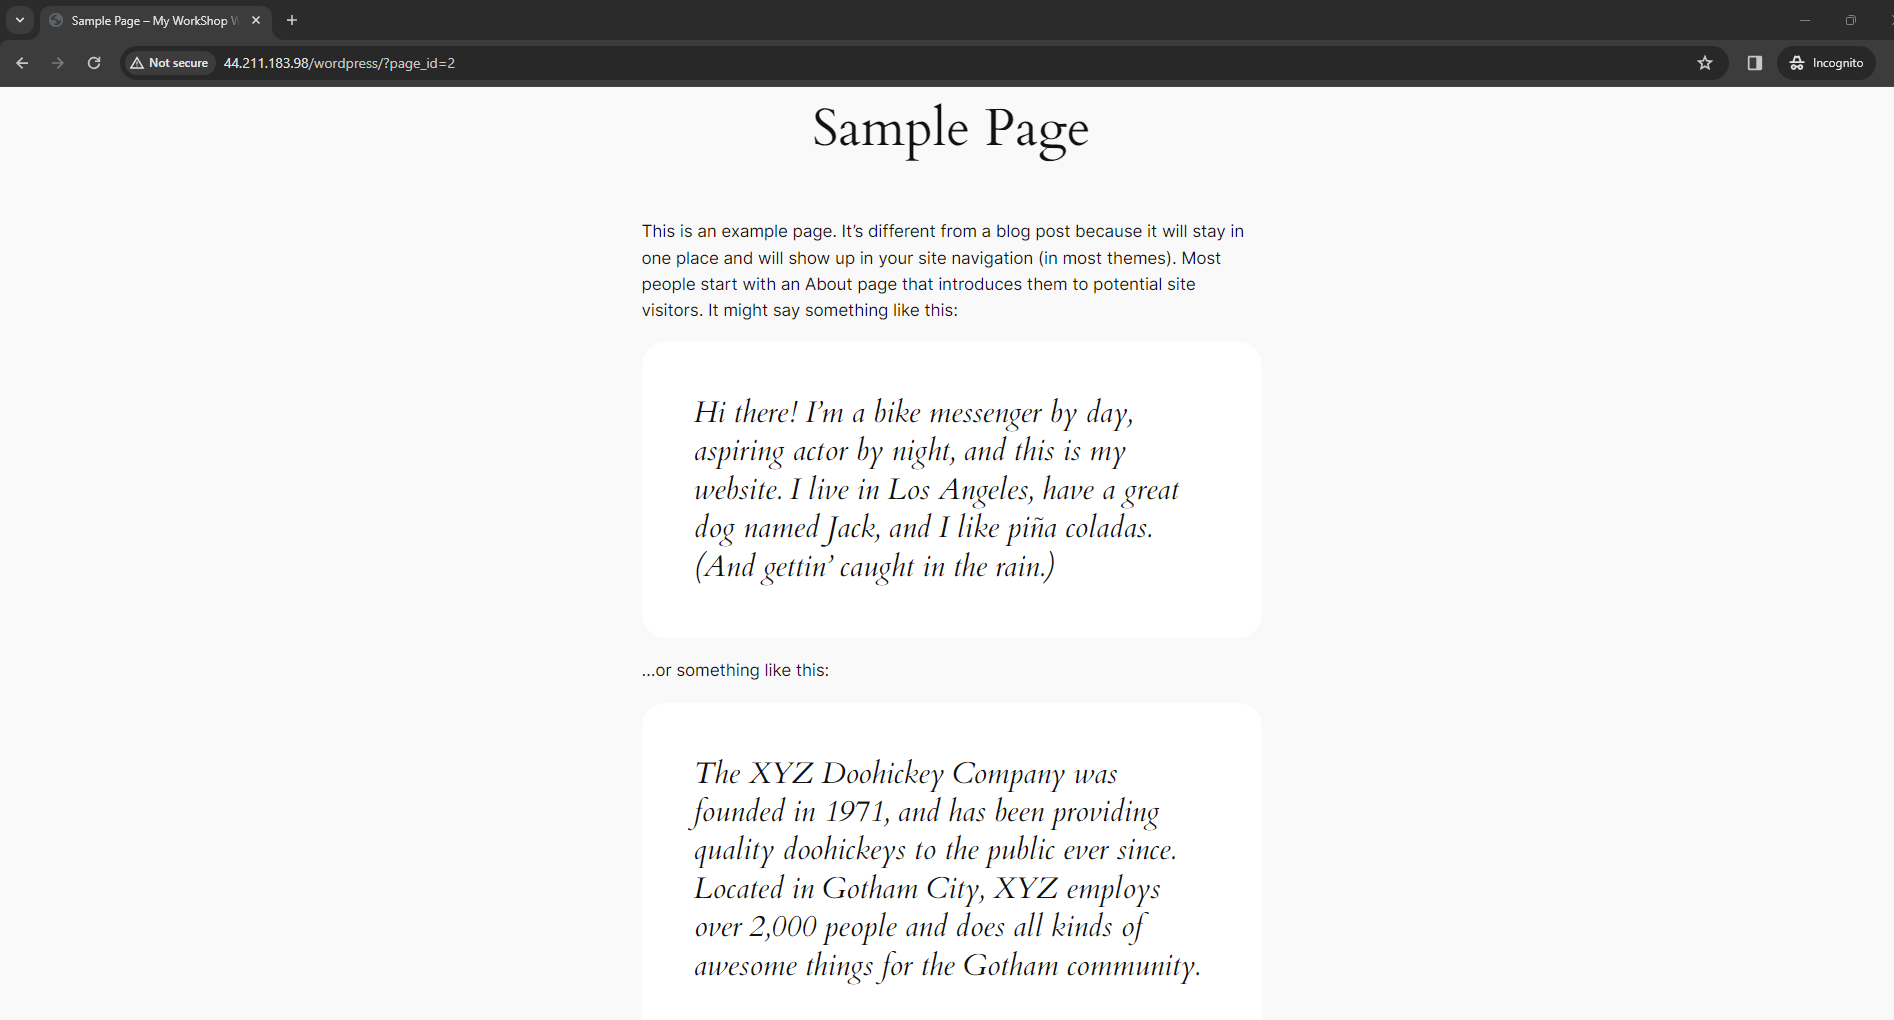
You will access and test your Wordpress website.